

Getting Started with Rust Cloudflare Workers


☁️ Why use Rust Cloudflare Workers?
In this article we take a look at getting started with Rust Cloudflare Workers. We build out a basic serverless function which lets you send email. Before we get into that, though, you might be asking why use serverless Rust? Especially if you already know JavaScript. After all much of the functionality we would want to implement can also be implemented with JavaScript. For me, the motivation is learning Rust. Rust is becoming more pervasive in the web development sphere, especially for modern tooling. Standalone Rust implemented tool examples are swc and Parcel.js. swc compiles TypeScript and JavaScript, and, bundles twenty times faster than Babel. Parcel.js saw a 10 times speed improvement moving to the new Rust implementation.
Of course, you might not see these speed improvements in serverless functions. That said serverless functions are usually small pieces of code which perform a single small task. To me that makes them a great choice for learning Rust. You can invest small chunks of your time on focussed code, starting with a simple Rust Cloudflare Worker. Then either as the initial functions evolve and require more sophisticated solutions or, indeed as you consider solving other more detailed problems using Workers, you gradually improve your Rust understanding.
🧑🏽🎓 Learning in Public
I should point out I am still relatively new to Rust so you might know of better Rust implementations of the Rust code below. In fact, I would love feedback on how I could improve the Rust code (drop comments below or add pull requests to the demo code repo). Instead of best practice Rust, this is more of a guide on how to get up and running with Rust Cloudflare Workers where I share some of the Rust I have learned. That said I hope you can benefit from the post if you already know Rust but want to know how to get going with Rust Cloudflare Workers.
📚 Rust Learning Resources
If you are learning Rust, here are some free resources you might find useful:
- The Rust Programming Language book — normally just referred to as “The Book” is probably the best starting point. Available online as a number of chapters which offer a gentle introduction to Rust. Also try Rust by Example to help push home concepts in the Book, especially if you prefer a more hands-on approach to learning,
- Rustlings — a collection of small exercises you can run through to improve your Rust. Consider this if you prefer a more practical approach to learning, rather than reading the book,
- Rust Cookbook — you will probably use this differently to the other two resources. Rather than work through from start to finish, it is quite handy to dive in to a particular area you need for a problem you are looking at, which you have not yet seen in Rust.
If you prefer videos, Chris Biscardi is behind Rust Adventures which provides another avenue to learning Rust. You can access much of the content for free. Chris is very knowledgable in Rust and I have picked up quite a bit from his blog posts.
🧱 Getting Started with Rust Cloudflare Workers: What we’re Building
Often you need to send out an alert from a serverless function when a certain event occurs. To help out we generate a test email message using SendGrid from our worker. Even when you don’t need to send a message from your worker, you will often need to interact with external services (such as databases), making REST calls. We use Reqwest in our serverless function to send the email. So, even if you don’t need to send email in your first Rust Cloudflare worker, you will have some example code for making REST requests.
⚙️ Rust Setup
You can set up Rust with Homebrew or other package managers. Rust’s recommended approach though, is to install from the Terminal from their script:
curl --proto '=https' --tlsv1.2 -sSf https://sh.rustup.rs | sh
This installs rustup which manages your Rust installation. As examples, to update rustup itself and your Rust tooling you would use the following commands:
rustup self update
rustup update
Cargo is the Rust package manager. To search for crates (Rust packages) try https://crates.io/. We won’t go into more detail on rustup and cargo here as you will probably find more complete information wherever you are learning Rust.
🔧 Serverless Rust Cloudflare Worker Setup
You need a Cloudflare account to start; sign up for Cloudflare if you don’t yet have one. Next, set up the wrangler CLI tool. You can skip this if you already have wrangler installed globally via npm (for example if you have already worked with JavaScript or TypeScript workers on your system). If you do need to set up wrangler, the easiest way to do so is using Rust’s cargo package manager:
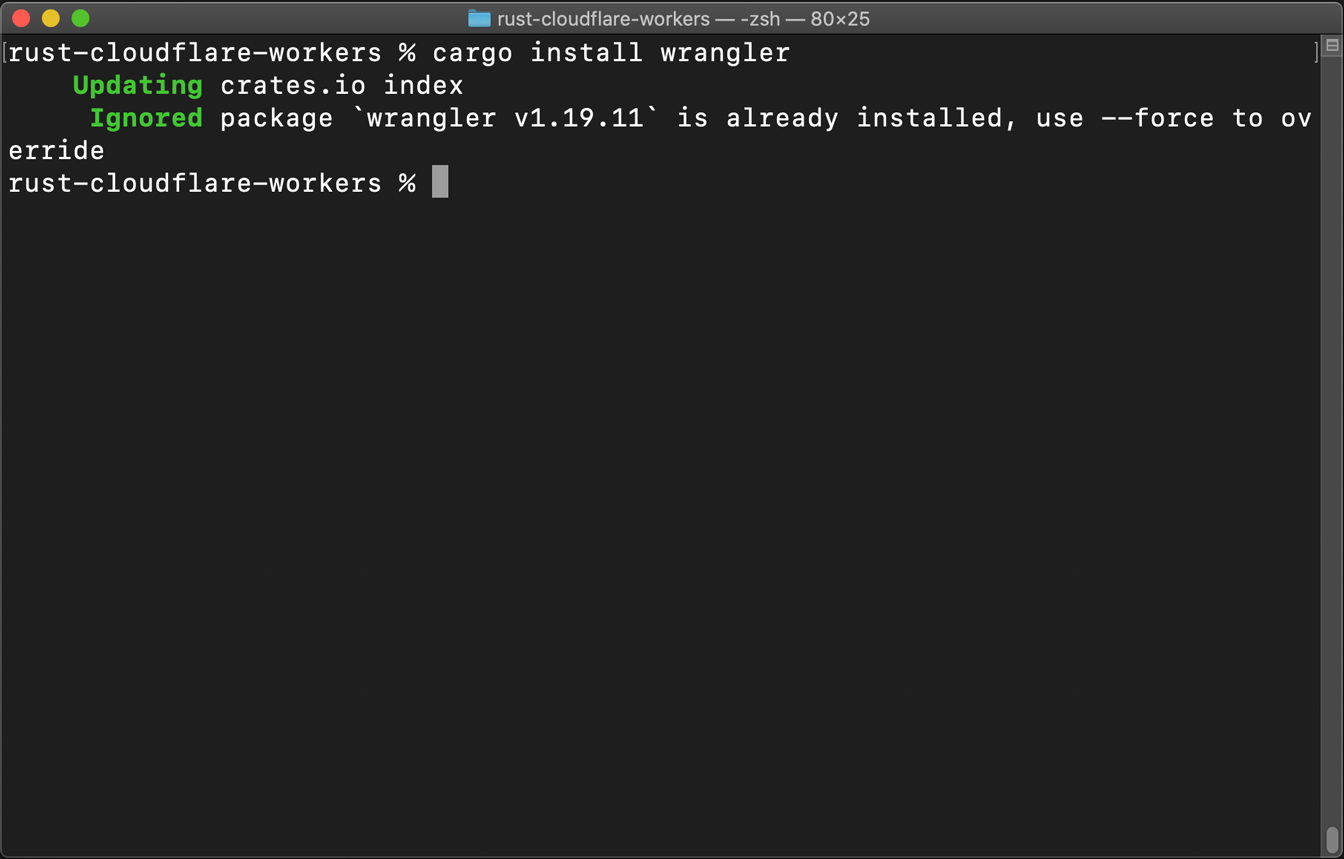
cargo install wrangler
This installs the latest available version of wrangler. To update wrangler later, just run the same command. If a newer version is available Cargo will update, otherwise, it just tells you the package is already installed.
Note that Cargo installs wrangler to the current user’s profile ( ~/.cargo/bin/wrangler), so you do not need admin privileges. Rustup should have added the ~/.cargo/bin directory to your Terminal PATH environment variable. To check this, type wrangler --version in the Terminal. If all is well you should get the something like wrangler 1.19.11 as output. If you don’t, you might need to add the directory to your PATH manually.
🔨 Generate Rust Cloudflare Worker Skeleton Boilerplate
Next we use wrangler to create the project boiler plate:
wrangler generate --type=rust my-rust-cloudflare-worker

This creates a wrangler.toml file which contains project config. You can define variables for use in the Rust code here. As an example WORKERS_RS_VERSION is defined in line 7:
name = "my-rust-cloudflare-worker"
type = "javascript"
workers_dev = true
compatibility_date = "2022-04-19"

[vars]
WORKERS_RS_VERSION = "0.0.9"

[build]
command = "cargo install -q worker-build && worker-build --release" # required
# TRUNCATED...
Do not store secrets (like API keys) here, we will see how to define those in a moment.
📦 Package Meta
Another file which wrangler has generated in the project is the usual Cargo.toml files:
[package]
name = "my-rust-cloudflare-worker"
version = "0.1.0"
authors = ["Blake Costa <blake@example.com>"]
edition = "2018"
description = "My first Rust Cloudflare Worker"
repository = "https://github.com/example-profile/my-rust-cloudflare-worker"
license = "BSD-3-Clause"
Currently wrangler does not automatically include the last three lines shown, but you may like to include them to follow best practice (customising to suit your needs).
🖥 Dev environment
Fire up the dev environment (with the skeleton code) from the Terminal:
wrangler dev
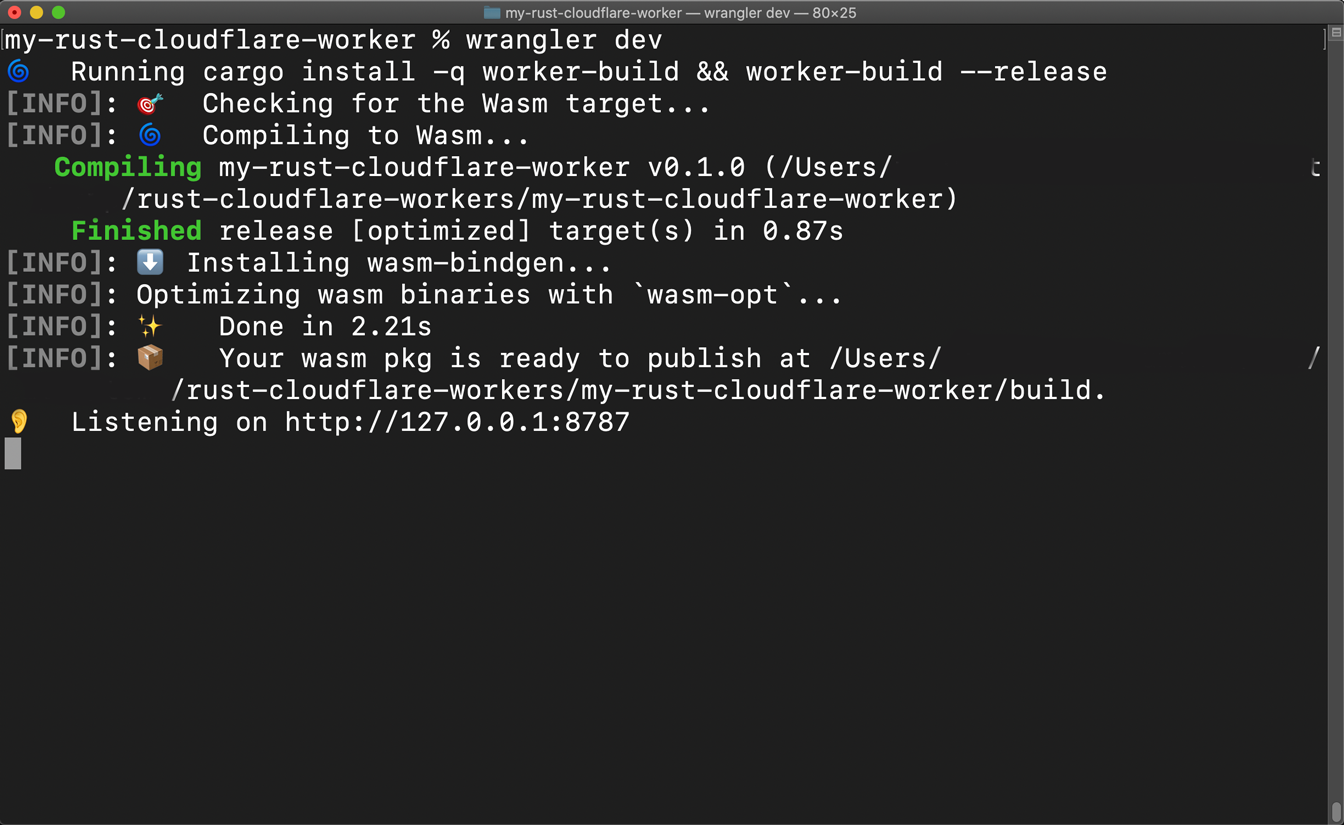
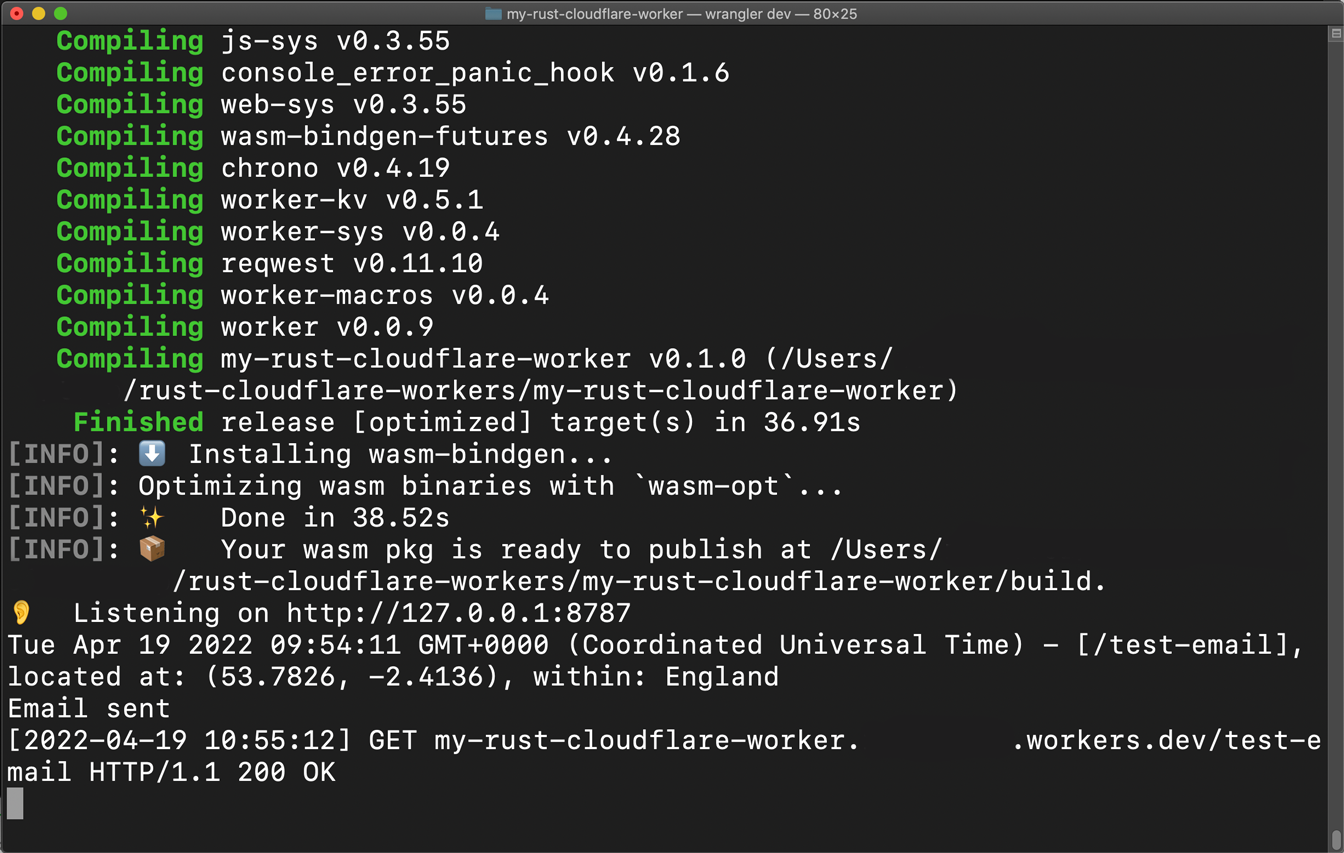
It will take a moment to build the worker the first time you run it. Once the dev environment is ready to receive requests the Terminal will have the message Listening on http://127.0.0.1:8787.
In production, typically the worker will be invoked by a REST GET or PUT request sent to its production address. In development, we can send curl requests to the address above. The boilerplate project includes some code we can use to test the worker. In your browser go to http://127.0.0.1:8787/worker-version alternatively, send a GET request using curl from the Terminal (in a separate tab):
curl "http://127.0.0.1:8787/worker-version"
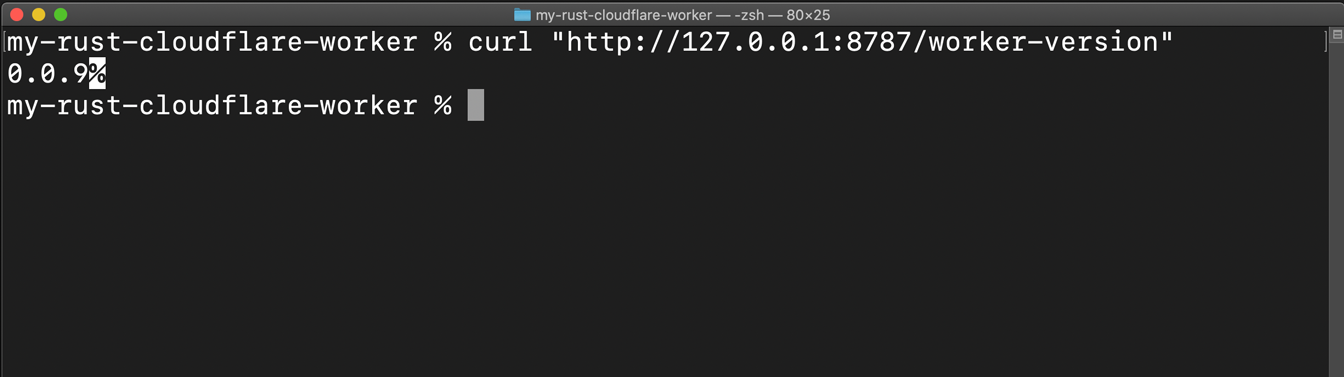
If all is well you will get a response with the worker version (this is the value defined in wrangler.toml which we mentioned earlier).
🔌 Connecting your project to your Cloudflare account
To store a secret API key, we will need to connect our local project to our Cloudflare account. To do this, just type the following command from within the project directory:
wrangler login
wrangler will prompt asking if it can open a page in your browser. To proceed accept this and wrangler opens your default browser. You need to log into your Cloudflare account to authorise wrangler. If you prefer to use a browser other than your default browser, this is also possible. Just paste the link wrangler prints in the Terminal from there to your preferred browser. Follow instructions in the Cloudflare console to proceed.
🤫 Getting Started with Rust Cloudflare Workers: Environment Variables
We will use SendGrid to send a test email in a moment. For this to work, we need to make our SendGrid API key available to the wrangler environment. We can do this from the Terminal:
wrangler secret put SENDGRID_APIKEY
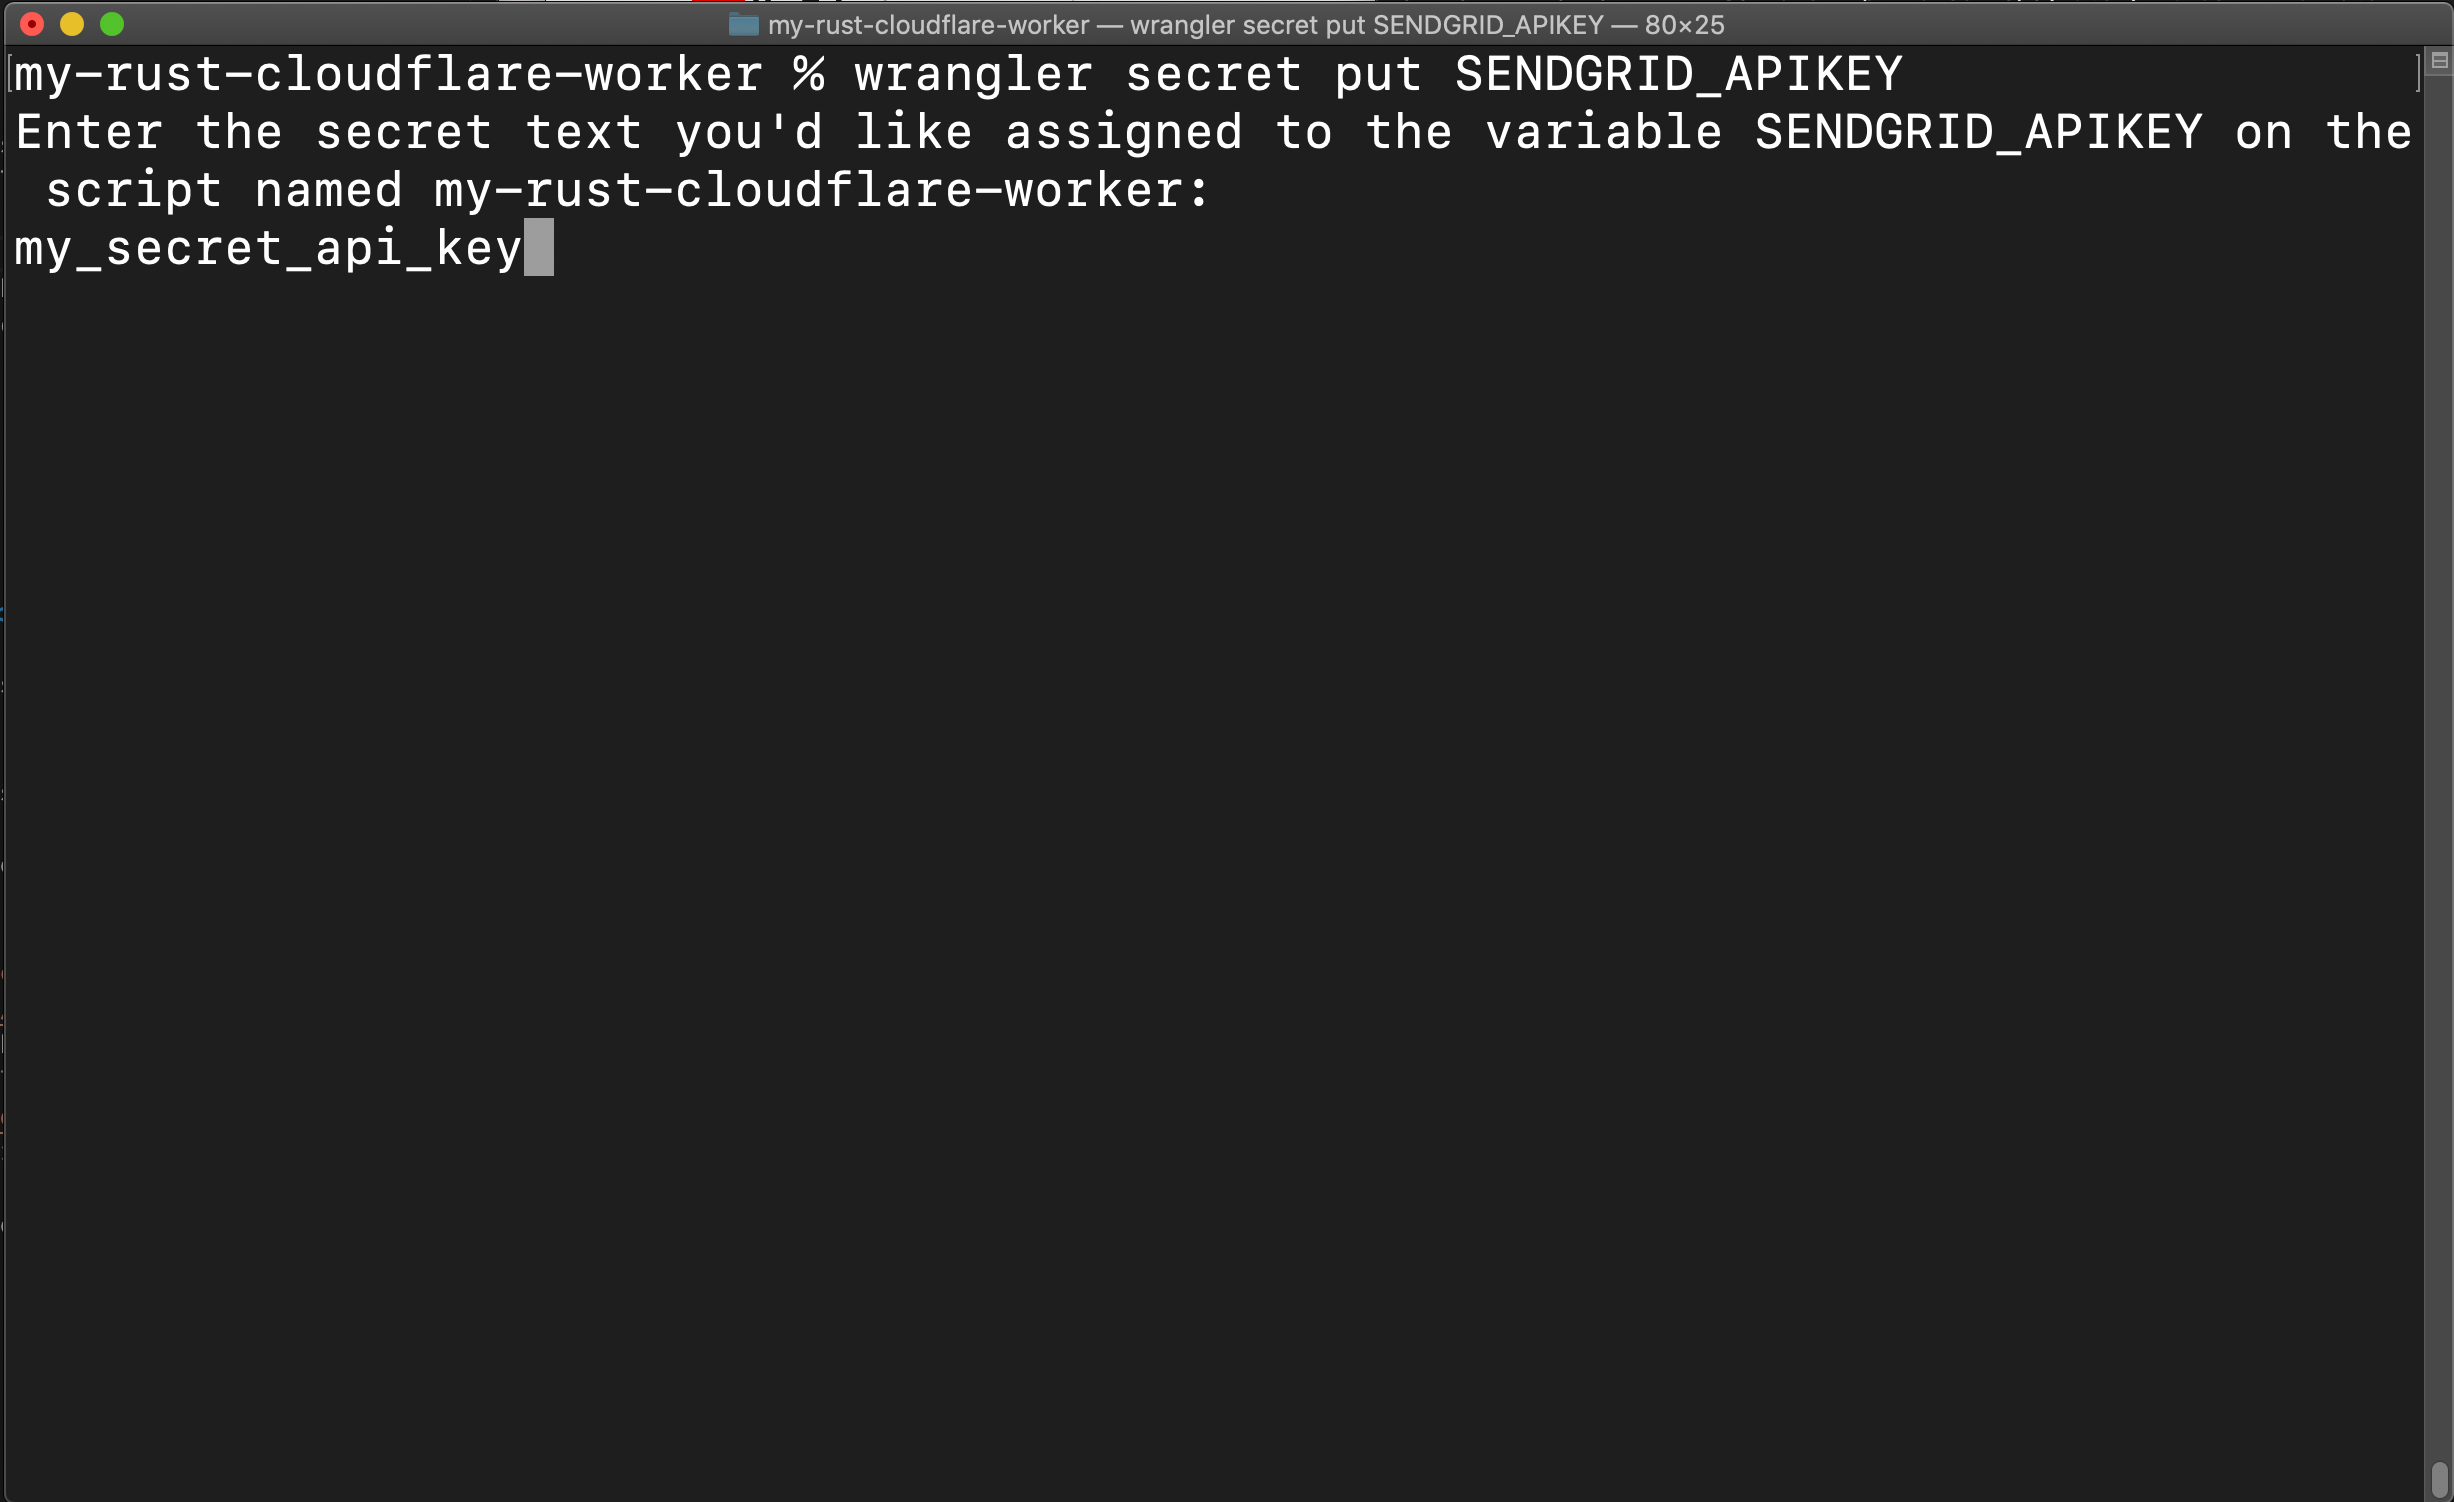
Paste in your SendGrid API key when wrangler prompts and it will store it in the Cloudflare environment. You can access the value both in local development and production.
If you are working with a service other than, SendGrid, just change the name to one that makes sense and add any additional secrets your service may require with additional wrangler secret put commands.
✉️ Sending Email with Rust Cloudflare Workers
As a final step we will add some Rust code to send a test email. We use the SendGrid REST API so you see how to do this. The crate we use for making REST calls is Reqwest. This performs exactly the function we would use axios or node-fetch for in a JavaScript or node environment. We will also use serde (contraction of serialise, deserialise) to create the JSON message data sent to the SendGrid API.
Add the Reqwest and Serde crates in Cargo.toml to make them available to our code:
[dependencies]
cfg-if = "0.1.2"
reqwest = { version = "0.11.10", features = ["json"]}
serde = "1.0.117"
worker = "0.0.9"
serde_json = "1.0.67"
In a moment we will add a sendgrid_client module. For now let’s just declare it in src/lib.rs:
mod sendgrid_client;
use sendgrid_client::{EmailRecipientSender, SendgridClient};

use serde_json::json;
use worker::*;
Then we will add a new route to listen on. The worker will send an email when it receives a GET request on the /test-email endpoint:
        .get("/worker-version", |_, ctx| {
            let version = ctx.var("WORKERS_RS_VERSION")?.to_string();
            Response::ok(version)
        })
        .get_async("/test-email", |_req, ctx| async move {
            let sendgrid_api_key = ctx.var("SENDGRID_APIKEY")?.to_string();
            let sendgrid_client = SendgridClient::new(&sendgrid_api_key);
            sendgrid_client
                .send_email(
                    EmailRecipientSender { // to
                        email: "river@example.com".to_string(),
                        name: "River Santos".to_string(),
                    },
                    EmailRecipientSender { // from
                        email: "blake@example.com".to_string(),
                        name: "Blake Costa".to_string(),
                    },
                    EmailRecipientSender { // reply to
                        email: "blake@example.com".to_string(),
                        name: "Blake Costa".to_string(),
                    },
                    "Test message",                // subject
                    "This is just a test message", // message
                )
                .await;
            Response::ok("Over and out!")
        })
        .run(req, env)
        .await
}
Change the email addresses to ones linked to your SendGrid account and which make sense for you. Notice how you can use the secret we previously defined (line 57).
SendGrid API
The SendGrid API expects our email in JSON format and we use serde to help us form this. Below is the JSON format SendGrid expects. If you are using a different email service you will need to tinker with the SendGrid Module to make it work.
{
  "personalizations": [
    {
      "to": [{ "email": "john.doe@example.com", "name": "John Doe" }],
      "subject": "Hello, World!"
    }
  ],
  "content": [{ "type": "text/plain", "value": "Heya!" }],
  "from": { "email": "sam.smith@example.com", "name": "Sam Smith" },
  "reply_to": { "email": "sam.smith@example.com", "name": "Sam Smith" }
}
SendGrid Module
Finally add this SendGrid module code to send messages (create the new src/sendgrid_client.rs file):
use reqwest::header::{HeaderMap, HeaderValue, AUTHORIZATION};
use serde::Serialize;
use worker::console_log;

#[derive(Serialize)]
pub struct EmailRecipientSender {
    pub email: String,
    pub name: String,
}

#[derive(Serialize)]
struct EmailPersonalization {
    to: Vec<EmailRecipientSender>,
    subject: String,
}

#[derive(Serialize)]
struct EmailContent {
    r#type: String,
    value: String,
}

#[derive(Serialize)]
struct SendGridEmail {
    personalizations: Vec<EmailPersonalization>,
    content: Vec<EmailContent>,
    from: EmailRecipientSender,
    reply_to: EmailRecipientSender,
}

pub struct SendgridClient {
    api_key: String,
    base_url: String,
}

impl SendgridClient {
    pub fn new(api_key: &str) -> SendgridClient {
        SendgridClient {
            api_key: api_key.into(),
            base_url: "https://api.sendgrid.com/v3/mail/send".to_string(),
        }
    }

    pub async fn send_email(
        &self,
        to: EmailRecipientSender,
        from: EmailRecipientSender,
        reply_to: EmailRecipientSender,
        subject: &str,
        message: &str,
    ) {
        let client = reqwest::Client::new();
        let mut headers = HeaderMap::new();
        let authorisation_header_value = format!("Bearer {}", self.api_key);
        headers.insert(
            AUTHORIZATION,
            HeaderValue::from_str(&authorisation_header_value).unwrap(),
        );
        let data: SendGridEmail = SendGridEmail {
            personalizations: vec![EmailPersonalization {
                to: vec![to],
                subject: subject.to_string(),
            }],
            content: vec![EmailContent {
                r#type: "text/plain".to_string(),
                value: message.to_string(),
            }],
            from,
            reply_to,
        };
        match client
            .post(&self.base_url)
            .headers(headers)
            .json(&data)
            .send()
            .await
        {
            Ok(_response) => {
                console_log!("Email sent")
            }
            Err(error) => {
                console_log!("Error sending email: {error}")
            }
        };
    }
}
With this example, you see a way to send a PUT request with JSON body using Reqwest. We send the API key as a Bearer Authorization header (formed in lines 54–58). We could write the JSON body as a raw string, but defining the structs and using serde to serialise adds a little checking.
You can also use serde to deserialise. As an example you could do this if your worker is listening for a PUT request with a JSON body. In this case serde helps us convert the JSON body to Rust structs which we can manipulate in the code.
The SendGrid API expects a type field on content entries. However type is a reserved keyword in Rust so to escape it, in lines 19 & 65, we use r#type. We can use console_log for debugging with Rust Cloudflare Workers like we would use console.log() in JavaScript. We see it in action in lines 79 & 82. For that to work, we need the use directive in line 3.
Reqwest and Serde are very powerful and you will probably use them a lot as you start using Rust Cloudflare Workers. See Reqwest docs as well as serde docs for more on how you can use them.
💯 Getting Started with Rust Cloudflare Workers: Testing it Out
The test we use here is a little rudimentary. You might already know that Rust lets you define unit tests within source files. For testing code which calls external APIs (like the SendGrid call in our code) there are a few crates you can use. I have got on well with the httptest crate in the past. It works with async code and lets you check the data which your code sends and mock the response. We won’t look at it here otherwise the post will get too long. Just wanted to make sure you knew such packages exist!
To test either open https://127.0.0.1:8787/test-email in your browser to use curl (like we did earlier):
curl "http://127.0.0.1:8787/test-email"
Check your inbox. Fingers crossed, you’ll have the test email.
The final step, once you are happy everything is working, is to publish the worker to production:
wrangler publish
wrangler will let you know the public url for the worker. Of course, you can also customise this in the Cloudflare console.
🙌🏽 Getting Started with Rust Cloudflare Workers: Wrapping Up
We have learned all about getting started with Rust Cloudflare Workers in this post. More specifically, we have seen:
- a way to send email using a REST API from Rust Cloudflare Workers using Reqwest to POST a JSON body,
- how to store and make secrets and environment variables accessible to Rust Cloudflare Workers,
- how you can add debug
console_logmessage to you Cloudflare Worker.
The Getting started with Rust Cloudflare Workers demo code is in the Rodney Lab GitHub repo.
I hope you found this article useful and am keen to hear where you will go next as well as potential improvements, both to the Rust code and explanations above.
🙏🏽 Getting Started with Rust Cloudflare Workers: Feedback
Have you found the post useful? Would you prefer to see posts on another topic instead? Get in touch with ideas for new posts. Also if you like my writing style, get in touch if I can write some posts for your company site on a consultancy basis. Read on to find ways to get in touch, further below. If you want to support posts similar to this one and can spare a few dollars, euros or pounds, please consider supporting me through Buy me a Coffee.
Finally, feel free to share the post on your social media accounts for all your followers who will find it useful. As well as leaving a comment below, you can get in touch via @askRodney on Twitter and also askRodney on Telegram. Also, see further ways to get in touch with Rodney Lab. I post regularly on Astro as well as SvelteKit. Also subscribe to the newsletter to keep up-to-date with our latest projects.